› Browse Recipes › How to Cut and Process Chicken, Duck, and Beef — Elevate Your Culinary Game
How to Cut and Process Chicken, Duck, and Beef — Elevate Your Culinary Game
Chef Giacomo Bocchio teaches three essential meat butchery techniques: spatchcocking a chicken for even grilling, fully deboning a chicken for ballotine (balotina), portioning a whole duck for arroz con pato, and cleaning and portioning a whole beef tenderloin (lomo). Covers knife safety, silver skin removal, proper cuts, storage, and labeling.
download Extracted 2026-03-31
Ingredients
No ingredients listed
Steps
-
1Set up your work surface: place kitchen paper or cloth towel under proteins on the tray to absorb excess blood/juices (sanguaza). Always work with well-sharpened knives, and dry your hands before every cut — wet hands reduce grip and increase the risk of slipping.Tip: Always think ahead about where your knife blade will end up at the end of each cut. If the trajectory ends at your finger, reposition.~2 min
-
2SPATCHCOCK CHICKEN — Remove excess fat from the chicken. Locate the wishbone (espoleta) at the breast end: make two cuts on either side of it, work your fingers in, snap it free, and remove both pieces. This allows the knife to open the breast fully without obstruction.Tip: Broken wishbone fragments are sharp — pull slowly and carefully to avoid cutting your fingers on the bone tip.~3 min
-
3SPATCHCOCK CHICKEN — Flip the chicken breast-side down. Using good kitchen scissors, cut along both sides of the spine from tail to neck, removing the backbone completely. Flatten the chicken with a firm press. Trim the wing tips so they don't burn during cooking.Tip: The backbone can be cut into concassé (rough pieces) and frozen to use later in stocks and sauces.~5 min
-
4SPATCHCOCK CHICKEN — The result is a completely flat, open chicken that cooks evenly. Cook it interior-side down first on the grill, then flip to crisp the skin. The flat shape ensures uniform doneness throughout.Tip: After spatchcocking, the chicken benefits greatly from a brine (salmuera) followed by a marinade of your choice before grilling.
-
5FULL DEBONING (BALLOTINE) — Use a boning knife with a thick handle and low flex for poultry. Start with a second chicken: remove wing tips and trim excess fat. Make a single lengthwise cut along the entire backbone. Then remove the wishbone as before.Tip: A stiff boning knife gives better control for poultry and red meat; reserve flexible boning knives for fish.~3 min
-
6FULL DEBONING — Lay the chicken back-side up. Locate and leave the floating scapula bone attached to the carcass. Find and scrape around the 'oyster' (tontillo/ostra) — the prized nugget of meat near the thigh socket — and keep it attached to the skin side. Work down both sides scraping meat away from ribs without tearing the skin.Tip: The chicken is connected to the carcass at four points: both shoulders and both hips. You must sever all four to free the carcass.~8 min
-
7FULL DEBONING — At each shoulder joint and hip joint, position your knife at the cartilage and use a rotating/twisting motion (not direct pressure) to sever the joint. This is safer and requires less force. Once all four joints are separated, hold the carcass through the ribs and pull it free from the meat.Tip: Dry your hands before this step — the bird's juices make the carcass very slippery.~5 min
-
8FULL DEBONING — Debone each leg: follow the femur line down to the knee, scraping the meat cleanly off the bone. At the knee joint, carefully work around it (there are nerves; leave small amounts of tissue on the bone). At the ankle, use a heavier knife (cleaver) and strike firmly to break the bone at the drumstick — leave the stub so the filling won't escape during cooking.Tip: Check for bone splinters after breaking the ankle bone and remove any fragments before filling.~8 min
-
9FULL DEBONING — Remove the first bone (humerus) from each wing by cutting along it, leaving the second bone (the drumette visible from outside) in place for structure. Remove the two sashimi fillets (asamis) from the breast: cut them free with the knife, butterfly them open to increase their surface area, and tuck them into the gaps between breast and thigh to create an even layer of meat.Tip: Since the wishbone was removed earlier, the knife passes cleanly through the breast all the way without obstruction.~5 min
-
10FULL DEBONING — Score the thick breast section with a lengthwise butterfly cut to open it out flat. Place your filling over the entire surface, fold the skin back over and tie (bridar) the chicken into a compact roll. The wing bones help maintain structure. The result is a ready-to-cook ballotine.Tip: You can remove the wing bones entirely if you want a fully boneless roll; keep them only if you want added structural support.~5 min
-
11DUCK FOR ARROZ CON PATO — Remove wing tips (save for stock). The duck's anatomy is similar to chicken but bones are longer and harder. Remove the wishbone: open a small incision near the neck, cut on both sides, and pull it free. Also remove and discard the trachea at this point.Tip: Always reposition yourself and the bird before each cut so the knife trajectory is safe and controllable.~4 min
-
12DUCK FOR ARROZ CON PATO — For arroz con pato, leave the legs and thighs bone-in. The legs require much longer cooking than the breast; leaving the bone in slows the breast cook time so the pieces finish together in the stew. Separate the leg quarters by pulling the skin toward the breast first (to give the breast more skin), cutting down to the hip joint, and using the rotating motion to disjoint.Tip: Scrape all the meat around the oyster from the hip socket — it's the most flavorful part of the bird, don't leave it on the carcass.~6 min
-
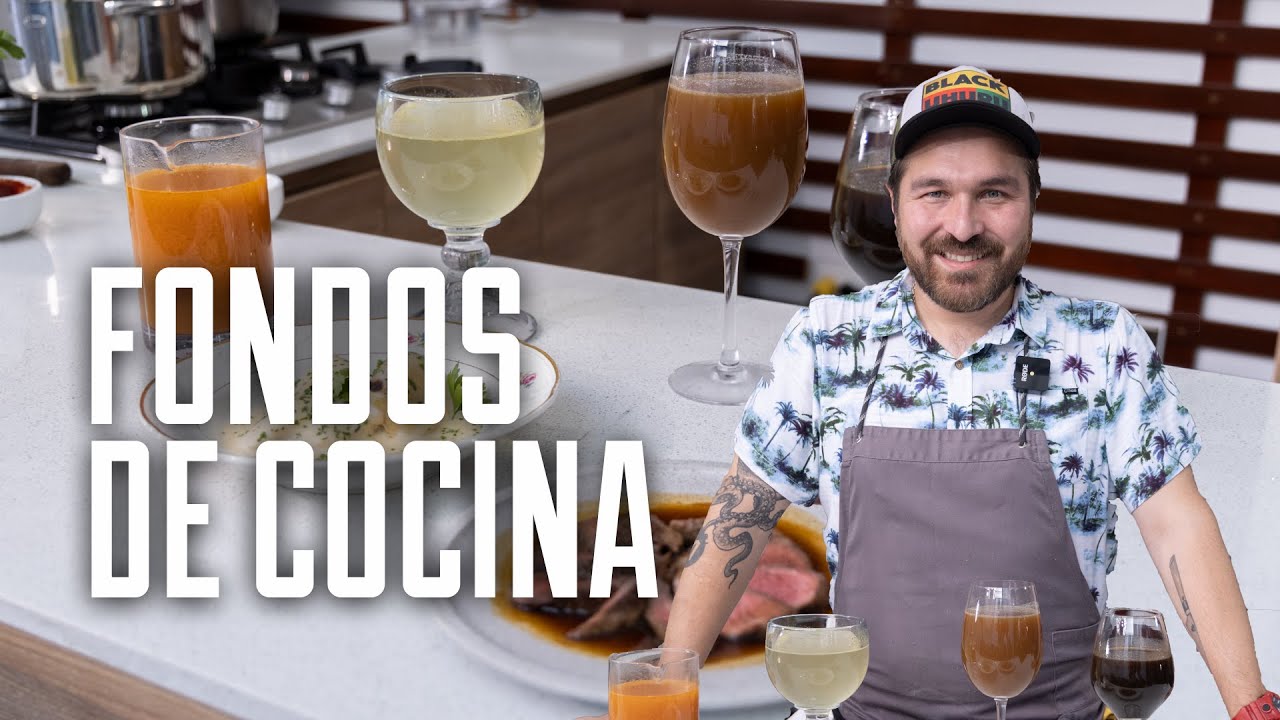
13DUCK FOR ARROZ CON PATO — Trim excess fat from the leg quarters but reserve it: duck fat is exceptional for confit cooking or frying potatoes. Stand the remaining carcass upright and use a larger knife to cut through the fragile ribs backward, then snap and remove the backbone section. Discard the neck but keep all bones for making duck stock (fondo) to cook the rice.Tip: Reserve all duck fat trimmed during butchery — render it slowly and store for use as manteca de pato (duck fat), one of the most luxurious cooking fats.~5 min
-
14DUCK FOR ARROZ CON PATO — Split the breast down the center along the keel bone, staying as close to it as possible on each side. The bone keeps the breast from shrinking dramatically during cooking. Optionally portion the breast further into a wing-end piece and a longer breast piece. Result: two bone-in leg quarters and two breast sections.Tip: After finishing all poultry work, thoroughly wash the cutting board and knives before moving to beef to prevent cross-contamination.~4 min
-
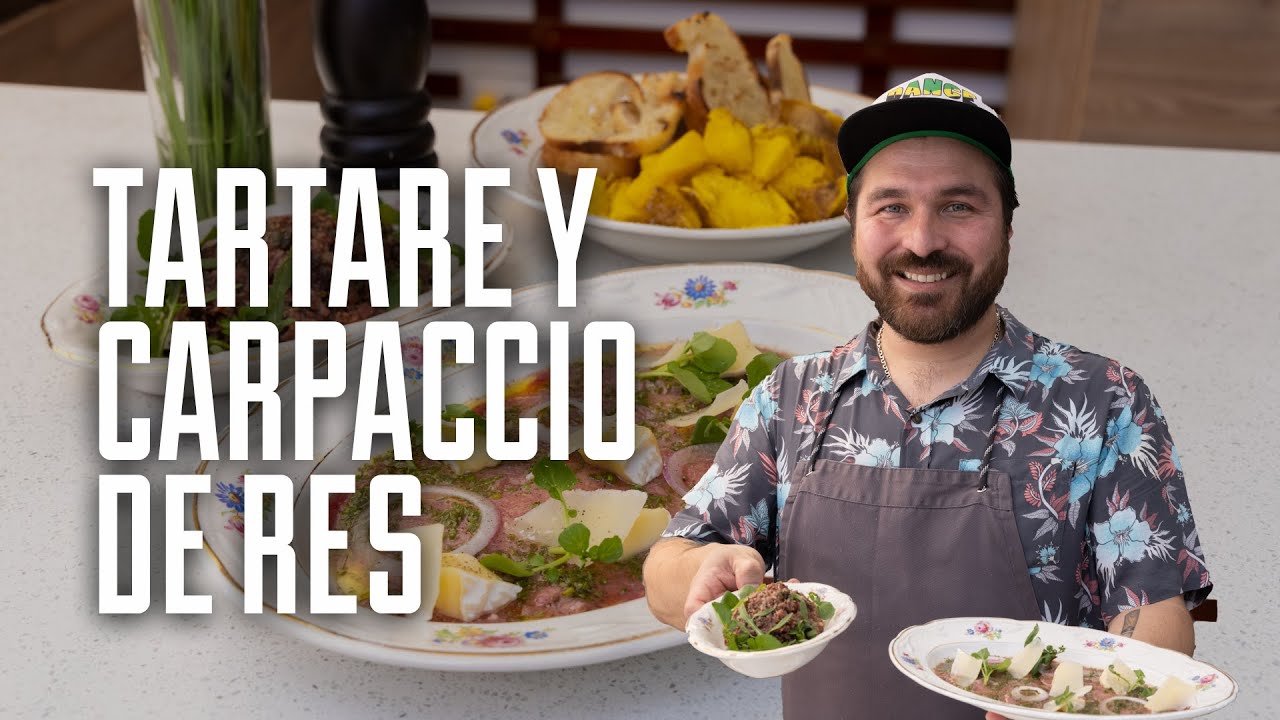
15BEEF TENDERLOIN — Understand the anatomy: the tenderloin runs from the hip (head/cabeza end) to roughly mid-back (tail/punta end). It is a first-category muscle that barely works, so it can be eaten rare, medium-rare, or even raw (tartare, carpaccio). The center section is the chateaubriand (also called Castillo Nuevo), flanked by the head and the tail.Tip: Contrast with third-category muscles (ossobuco, oxtail, brisket) that must cook long and slow to break down collagen and become tender.~2 min
-
16BEEF TENDERLOIN — Separate the head (cabeza): flip the loin, identify where the cylindrical main muscle ends and the irregular head begins, and make a clean cut. Set the head aside for later. Trim any dangling external fat flaps from the main loin — they will fall off during cooking and look untidy.Tip: The head (cabeza) is ideal for lomo saltado, empanada filling, or steak tartare — it lacks the uniform cylinder shape needed for medallions.~4 min
-
17BEEF TENDERLOIN — Remove the silver skin (piel plateada): lay the loin flat, use a long knife that spans the full width, and work in one clean pass angled between the silver skin and the meat — exactly like removing fish skin. One smooth long stroke leaves the meat pristine with minimal waste. All trimmings can go into a stock or pan sauce.Tip: One long pass is far superior to picking the silver skin off piece by piece — the meat stays smooth and intact without craters.~5 min
-
18BEEF TENDERLOIN — Portion the cleaned loin: (1) Cut the tail (punta) and set aside for salteados or stews. (2) From the chateaubriand center, cut tournedos/medallions of even thickness. (3) The smallest piece from the very tip is a filet mignon (mignon = small and pretty in French). (4) Cut the head into strips for lomo saltado, or cube finely for tartare. Optionally wrap irregular pieces in plastic film to form a cylinder (roulade), then freeze partially and slice on a mandoline for carpaccio.Tip: Wrapping the loin section in plastic film before slicing creates a more compact, uniform cut and prevents the meat from splaying.~8 min
-
19STORAGE — Use transparent food-grade bags (not supermarket produce bags, which may contain pesticides or dyes). Fold the bag opening down before filling to keep the rim clean. Remove excess air by submerging the sealed bag in water — the water pressure forces all air out before final closure. Label every bag with the cut name and date using masking tape.Tip: In professional kitchens, always label with name and date. For optimal freezing quality, use a blast chiller (abatidor) — it freezes faster and creates smaller ice crystals, preserving texture better than a home freezer.~5 min
Cultural Context
This video reflects Giacomo Bocchio's teaching philosophy from his appearances on the Peruvian TV competition 'El Gran Chef'. He demonstrates classical butchery skills applicable across Latin American and French culinary traditions, referencing cuts like lomo saltado (Peruvian stir-fry), arroz con pato (duck rice, a northern Peruvian classic), balotina, chateaubriand, and filet mignon. Knife work on whole proteins is a foundational skill in professional kitchens.
Giacomo Bocchio
TE ENSEÑO COMO CORTAR Y PROCESAR POLLO, PATO Y CARNE ¦ ELEVA TU JUEGO CULINARIO
Watch on YouTube →